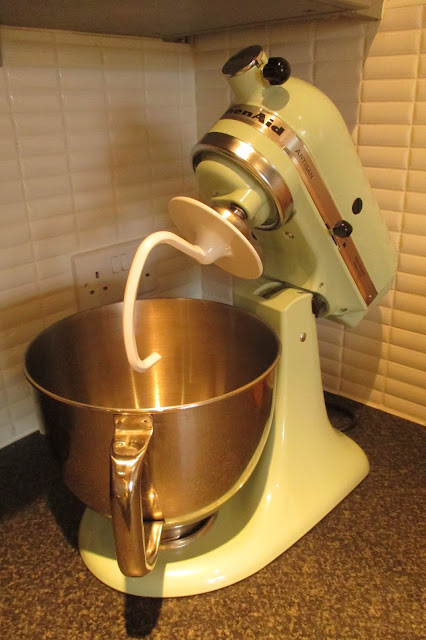
1 month ago, it was my 27th birthday. And on my 27th birthday I received the best present I think I've ever had, and will ever get... A kitchenaid! Ok, so it's a bit overdramatic calling this the best thing I've ever received but having lusted after these beautiful machines since I was about 15 it really was a complete shock and a dream come true.
Meet Percy, the Pistachio Kitchenaid:-
In today's adventure, Percy and I decided to make pretzel buns. I've made these a couple of times and am playing with recipes at the moment to get the best one, but this is the best I've found so far... enjoy!
Fresh pretzels will always hold a special place in my heart as I grew up in South Germany and often used to grab a brezlen as a great way to start the day... or for lunch... or as a snack... Chewy, salty, sweet, with that unmistakable pretzel taste. This recipe is one that I've tweaked from a couple of different sources to come up with an infallible result. The nice thing is this is also a vegan recipe; it doesn't have to be though - it just happens that I had almond milk and margarine in rather than cow's milk and butter! These are super easy to make, incredibly versatile and can be used as lunch rolls or a dinner accompaniment.
Ingredients
1 Cup almond milk
2 Tablespoons margarine
2 Tablespoons light brown sugar
1 Tablespoon dried yeast
2 Teaspoons salt
2 Cups strong white bread flour - + 1 cup if needed.
3 Cups boiling water
1/2 Cup bicarbonate of soda
Coarse sea salt
Method
1) Heat the milk, margarine and sugar in a saucepan, do not allow to boil. Remove from the heat when the milk is just hot to the touch (the margarine may not be melted yet). Stand for 5 - 10 minutes until it's warm and add the yeast. Stir and stand for 15 minutes. By the end of this time, the yeast should be gooey and bubbly.
2) Slowly pour the yeast mixture into a stand mixer with the dough hook attached and the salt and bread flour in. I used 2 cups initially then added about 3/4 of the 3rd cup; the final 1/4 I used to knead the dough with. If you don't have a stand mixer then get your hands involved!
 |
| Percy loves an action shot |
 |
| Pre-kneading... |
 |
| Post Kneading! |
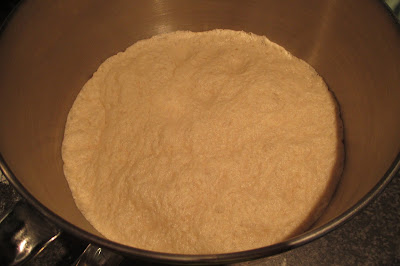
4) Once the dough has at least doubled in size, turn it out onto a very lightly floured surface and gently knock it back (knead it again, but be very gentle). You just want to get it to a point where you can shape it again - about 30 seconds is probably too much.
 |
| Just starting... |
 |
| Nearly there... |
 |
| And we're risen! |
 |
| Chewy, crunchy, soft, salty. Perfect |
If your rolls are a bit soggy it might be difficult to get them off the tray - make sure you use a knife or scraper to force them off whilst they're still warm or you'll have to tear them away. They can be frozen once baked, and are great defrosted and warmed up again!
Hopefully now I have my own space and energy to bake again I'll be updating the blog a bit more. See ya around!


